This page has free crochet patterns and colouring pages. Enjoy 😊
If you would like to buy me some yarn, I have a donation page on ko-fi. It’s the original tip jar site and European. I also have a shop on ko-fi as well.
All my patterns are human made. No AI. They are copyright Rosemarie Neumayer (2019 – 2025). The training of AI or its systems with them is prohibited. Anything you make from my patterns is yours, of course! Keep, gift or sell to your heart’s content. The one exception is the poppy pattern (if you are in Canada) as that has specific copyright issues in Canada with selling and public displays (see caption on the pattern for more details).
Incase you are new to the world of “slip knots”, they move! When I say to “pull tight and knot off” this is the end of your slip knot that goes into the stuffie. Putting a knot keeps your stitches from moving and falling out! It also makes the work more stable. Making note: I forgot to put the last “slst” in the legs (tentacles). Make sure to put a final slip stitch in your work to join the last tentacle to the others before you finish off.Making tip: If you use a slip knot to make your stitches in, remember to pull tight and knot off the slip knot at the back so your stitches don’t move. Heads up to my fellow Canadians, the poppy is copy right in Canada. It’s owned by the Legion. If you make a display, please get approval from your local Legion first. Also, please do not sell these poppies as that would take away from the Legion or Veterans in your area.
Colouring pages:
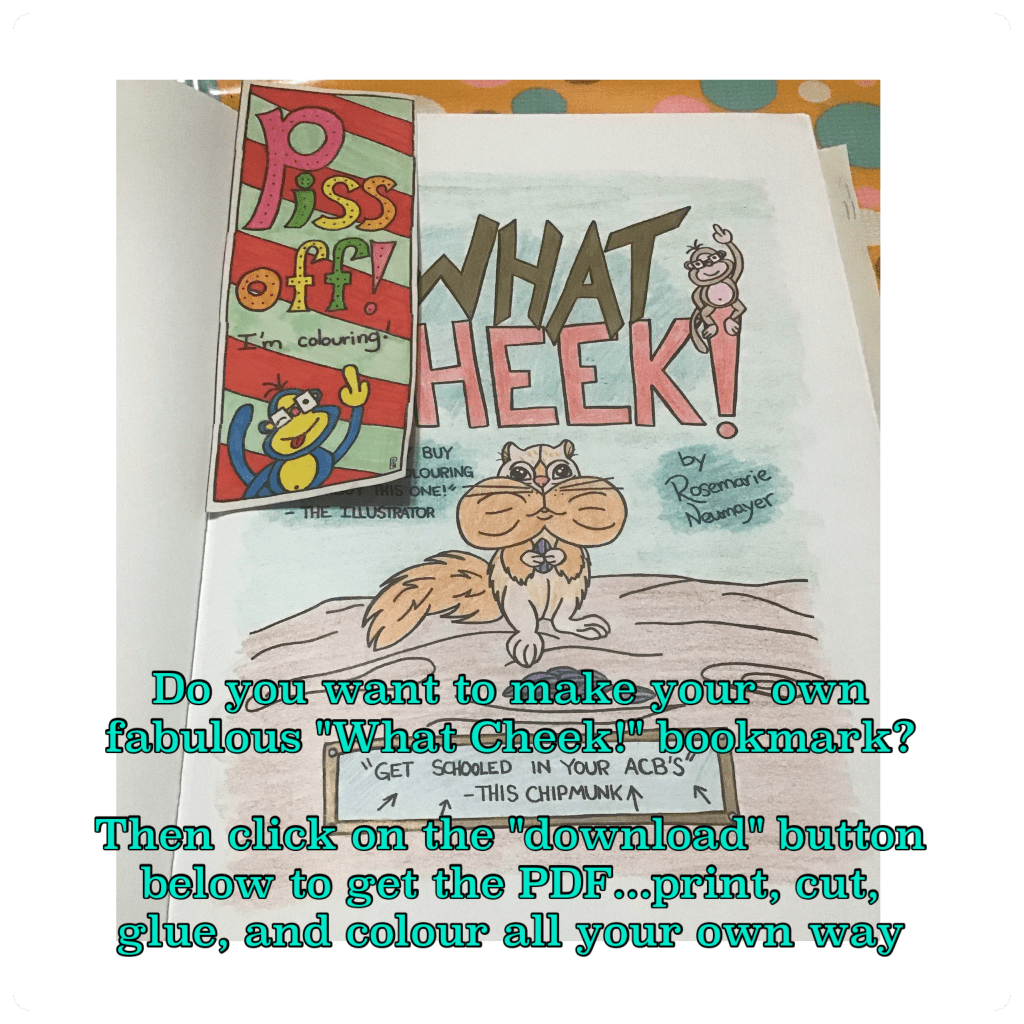
All my drawings are human made. I draw them on sketchbook paper with pencil, outline in ink, then erase all the pencil lines. Then the pictures are scanned into the computer for digital publishing. The uploading of my drawings to AI is prohibited. They are copyright Rosemarie Neumayer 2019, 2026.This is a picture of the inside cover drawing in my ACB with the bookmark made and coloured and doing it’s thing. To get a copy of the bookmark drawing to colour and make, please click on the “download” button bellow.
I made this up as a clean hand out when I was in a shop called “The Peculiar Platypus”. The shop is no more but the page is still super fun to colour in with littles or by yourself. If you are wanting the book, it’s on Amazon or you can get a copy from my ko-fi shop. The picture here is just the thumbnail, click on the “download” button for the full page image.

![Teeny Tiny Baby Octopus 🐙 Pattern
By Rosemarie Neumayer
Abbreviations (American style)
ch = chain
sc = single crochet
sts = stitchs
sl st = slip stitch
Inc = increase
Dec = decrease (use blind decrease method for best results)
RND = round (This pattern is made up in the round as it is circular. The work keeps going around and around, use a stitch marker to keep your place at the start of each round. This is the same as a row when doing regular crochet just with a different name to indicate it is circular.)
FO = finish off (leave a long tail for sewing up with whip stitch)
Body
RND 1 - make a slip knot then ch 2, 6 sc in the 2nd stitch from the hook (pull slip knot tight and knot off)
RND 2 - Inc all around (12 sts)
RND 3 - 1 sc, Inc (18 sts)
RND 4 to RND 6 - sc around (3 RNDs)
RND 7 - 1 sc, Dec (12 sts) stuff here with polyester or yarn ends
RND 8 - Dec all (6 sts), stuff a little more and FO
Legs
RND 1 - make a slip knot (leave a long tail for this one), ch 2, [sl st to 2nd stitch from hook, ch 6] x 8 . Then pull the slip knot tight with all 8 ch 6's in it, FO (sew this to bottom of body)
Face
Use the centre of the 3 RNDs to make the eyes in and the last of the 3 RNDs to make the mouth.
Notes: If you are a fan of "magic loop", start by making your magic loop for the body and then do 6 sc into the magic loop...the rest is the same.
Also this pattern is great for using up yarn ends, this gives it the different colour changes and is a great way to practice your colour changing skills on the fly!
I use "Bernat Handi Crafter Cotton Yarn" which is medium worsted. Feel free to use what ever you like and have fun! 🤩 I use a 3.50 mm hook to keep tension and my stitches tight.](https://rosemarieneumayer.com/wp-content/uploads/2022/10/bcf8d078-061c-46a0-bdfb-09248c884ce5.jpeg?w=1024)


